iPhone Real Estate Photography Tips From Nashville, TN

Real estate photography with a cell phone
iPhone Real Estate Photography Tips
Learn how to take real estate photos with your smartphone using your built-in camera features.
Objective: To capture high-quality photographs of the property using an iPhone for real estate purposes.
Equipment Used:
iPhone [Insert iPhone Model]
Tripod
Wide-angle lens attachment (optional)
External lighting equipment (optional)
Image editing apps (optional)
Exterior Real Estate Photos with a Cell Phone


Preparation:
Assess the property and identify the key areas and features that need to be captured. Take note of any unique selling points, such as spacious rooms, architectural details, or beautiful views.
Make sure the property is clean, well-organized, and properly staged. Distracting clutter and personal items should be removed. Pay attention to lighting and make sure the property is well-lit.
Before starting the photography session, familiarize yourself with the iPhone camera settings. To take the best photos, learn how to adjust exposure, focus, and other settings.
Charge the iPhone and accessories: Make sure your iPhone is fully charged to avoid any interruptions during the photography session. If you use external lighting equipment, charge or replace the batteries as needed.
Photography Session:
Set up the tripod: Place the tripod in a stable position, ensuring it provides a steady platform for your iPhone. Adjust the height and angle of the tripod to capture the desired composition.
Attach wide-angle lens (optional): If you have a wide-angle lens attachment, carefully attach it to your iPhone's camera lens. This can capture more of the room and provide a wider perspective.
Adjust exposure and focus: Use the iPhone camera settings to adjust the exposure and focus. Tap on the main subject or area of interest to set the focus point. Adjust the exposure slider to ensure proper brightness and detail in the image.
Capture wide-angle shots: Start by capturing wide-angle shots of each room. Position yourself in the corner of the room, aiming to include as much of the space as possible while maintaining a visually appealing composition. Capture multiple shots from different angles to provide a variety of perspectives.
Highlight unique features: Pay attention to any unique features or selling points of the property. Capture close-up shots of architectural details, high-quality appliances, or beautiful views from windows or balconies.
Use HDR mode (optional): If your iPhone has the HDR (High Dynamic Range) mode, consider using it to capture photos with a better dynamic range. HDR mode helps balance the exposure in high-contrast scenes, resulting in more detailed photos.
Experiment with different lighting conditions: If necessary, experiment with different lighting conditions to find the optimal balance between natural and artificial lighting. Avoid harsh shadows and overexposure by adjusting the curtains, blinds, or additional lighting equipment.
Take multiple shots: Capture multiple shots of each room, allowing for variations in composition and angles. This provides a selection of images to choose from during the post-processing stage.
Check the quality of the photos: Periodically review the photos on your iPhone's screen to ensure that they are properly exposed, and sharp, and showcase the property's best features. Make any necessary adjustments to camera settings or composition if needed.
Post-processing:
Transfer the photos: After completing the photography session, transfer the photos from your iPhone to a computer or other storage device for further editing.
Select the best images: Review the captured images and select the best ones that accurately represent the property and highlight its key features. Delete any duplicates or images that did not meet your quality standards.
Edit the selected photos (optional): Use image editing apps or software to enhance the
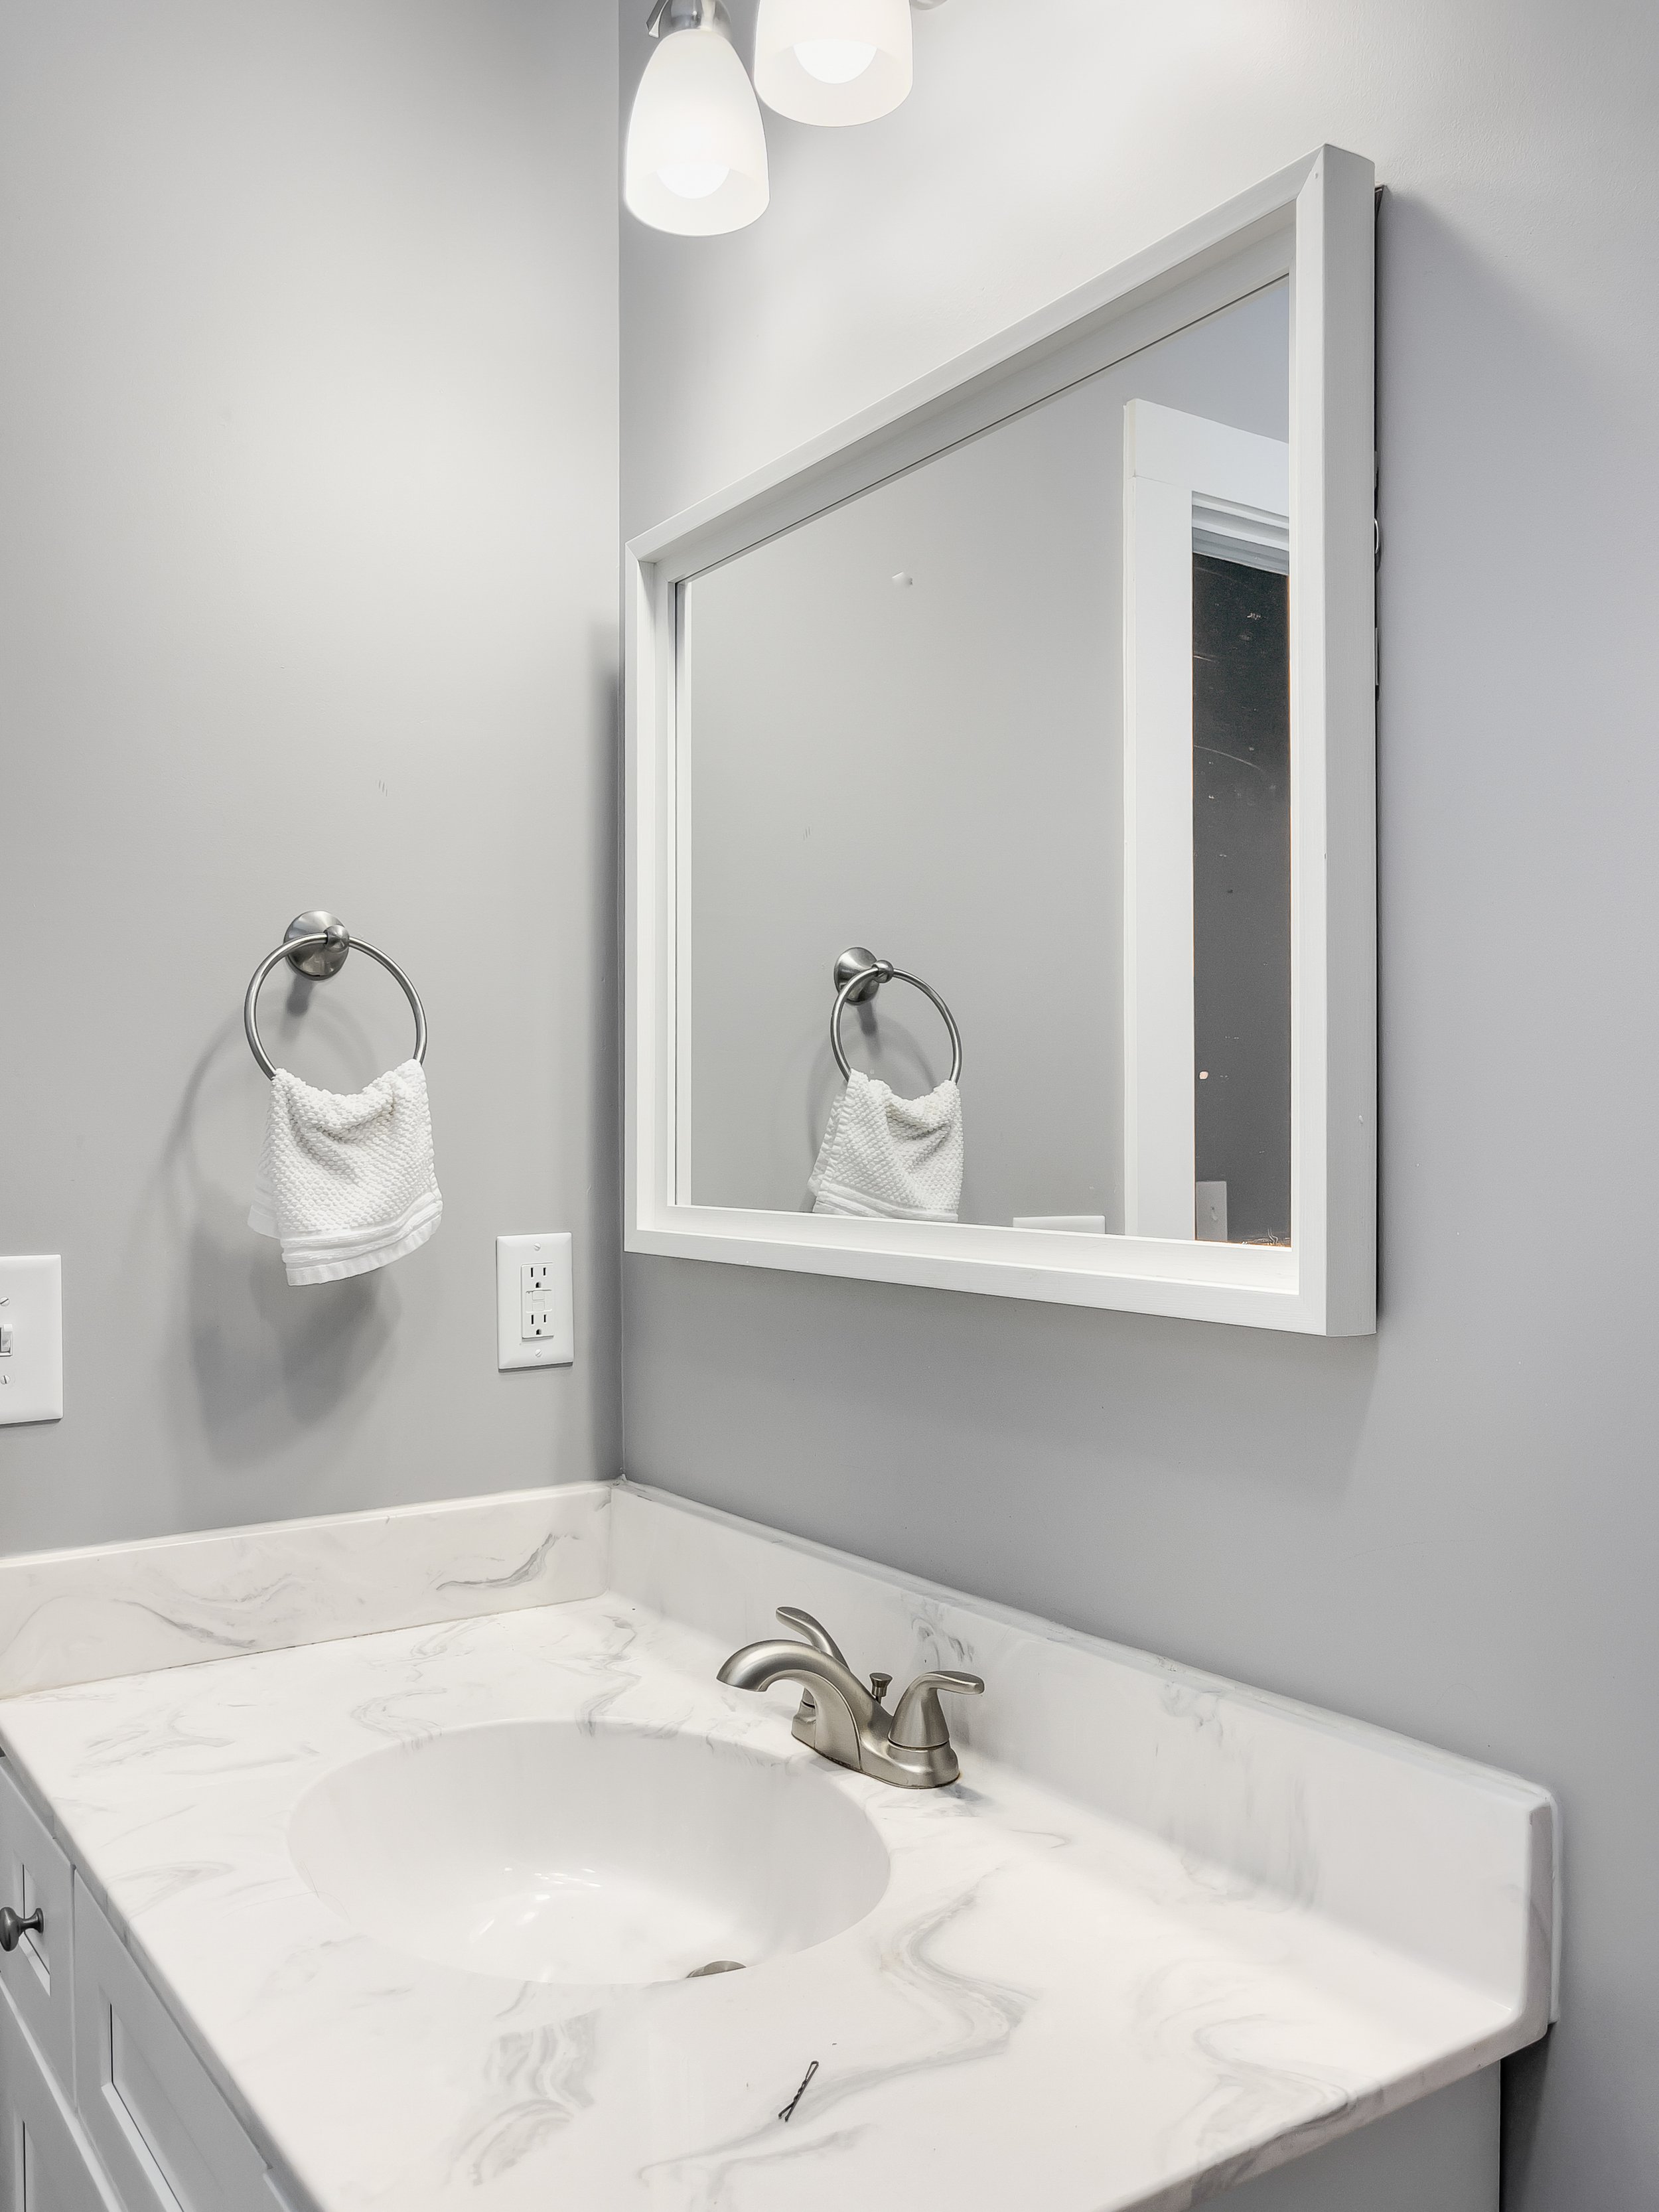
Interior Real Estate Photos with a Cellphone


How to Shoot Real Estate with an iPhone 13
With advancements in smartphone camera technology, it's now possible to capture stunning real estate photos using just your iPhone 13. In this guide, we'll walk you through the steps to maximize the capabilities of your iPhone for real estate photography.
The Best Tripod for your iPhone!
1. Prepare Your iPhone
Before you begin your real estate photography session, ensure that your iPhone 13 is fully charged. It's also a good idea to clear up some storage space to accommodate the high-resolution photos you'll be capturing.
2. Clean and Stage the Property
To showcase the property in its best light, ensure it is clean, organized, and properly staged. Remove any clutter or personal items that might distract potential buyers. Pay attention to lighting and ensure the rooms are well-lit for optimal results.
3. Familiarize Yourself with iPhone Camera Settings
Take the time to familiarize yourself with the camera settings on your iPhone 13. Learn how to adjust exposure, focus, and other settings to capture the best possible photos. Experiment with different modes, such as Portrait or Night mode, to see how they can enhance your real estate images.
4. Use a Tripod
A tripod is crucial for maintaining stability and sharpness in your real estate photos. Invest in a reliable tripod for your iPhone 13 that offers adjustable height and angle settings. This will allow you to capture consistent and level shots of each room.
5. Consider Wide-Angle Lenses
To capture more of the room in a single frame, you can consider attaching wide-angle lenses specifically designed for iPhone photography. These lenses expand the field of view, allowing you to include more of the space in your photos. They can be easily attached to your iPhone's camera lens.
6. Optimize Lighting
Lighting plays a crucial role in real estate photography. Utilize natural light whenever possible, opening curtains or blinds to let in ample sunlight. If needed, supplement the natural light with artificial lighting to evenly illuminate the rooms. Experiment with different lighting setups to find the best balance.
7. Compose Your Shots
When composing your shots, aim to capture the entire room while maintaining a visually appealing composition. Begin by standing in a corner of the room, which can provide a wider perspective. Experiment with different angles and heights to find the most flattering viewpoint. Avoid distracting elements in the frame and emphasize the property's unique features.
8. HDR Mode and Exposure Adjustments
The iPhone 13 offers an HDR (High Dynamic Range) mode that helps balance exposure in high-contrast scenes. Consider using this mode to capture photos with better detail and dynamic range. Additionally, use the exposure adjustment feature to ensure proper brightness and detail in your images.
9. Take Multiple Shots
To ensure you capture the best possible shot, take multiple photos of each room from different angles and perspectives. This will provide you with a variety of options during the selection process.
10. Post-Processing and Editing
Once you have completed your real estate photography session, transfer the photos to your computer for post-processing and editing. Utilize photo editing apps or software to enhance the images further. Adjust brightness, contrast, and colors to make the photos more appealing and representative of the property.
By following these steps, you can effectively utilize your iPhone 13 for real estate photography and capture high-quality images that showcase the property's best features.
How to take real estate photos with a smartphone
Stage responsibly. Ensure any toys, photos, and clutter is out of sight. ...
Bring helpful accessories. ...
Find your lighting. ...
Stay horizontal. ...
Use wide-angle shots. ...
Create some depth. ...
Mind the mirrors. ...
Perfect your photos on the go.
GEAR - iPhone Real Estate Photography Tips

Square Jellyfish Jelly Grip Tripod Mount for Smartphones
Square Jellyfish Jelly Grip Tripod Mount for Smartphones
https://www.bhphotovideo.com/c/product/1297530-REG/square_jellyfish_jlygrtm15_jelly_grip_tripod_mount.html

Magnus TR-13 Travel Tripod with Dual-Action Ball Head
Magnus TR-13 Travel Tripod with Dual-Action Ball Head
https://www.bhphotovideo.com/c/product/1438201-REG/magnus_tr_13_travel_tripod_with.html
Professional Photo Editing is the Best

Professional Photo Editing
For the best results for editing your photos, you will need a professional editor. Please feel free to contact us.
We can help you with editing your real estate photos.
Real Estate Photographer Pro
Helping real estate agents succeed!
Serving Middle TN and North AL
Photos - Video - Aerial Drone - Virtual Staging - 3D Virtual Tour - Architectural Visualization - Headshots - Measurements - Floor Plans
Kenneth Purdom - Owner Operator
615-310-7171 - kenneth@realestatephotographerpro.com
Book Online 24/7
https://www.realestatephotographerpro.com